AI Image Humanizer: What It Is and When to Use It
How image humanizers differ from generic enhancers, filters, and normal photo editors.
Users searching for an AI image humanizer are often comparing it with enhancers, upscalers, filters, and photo editors. The page clarifies the job-to-be-done and points them toward the right mode.
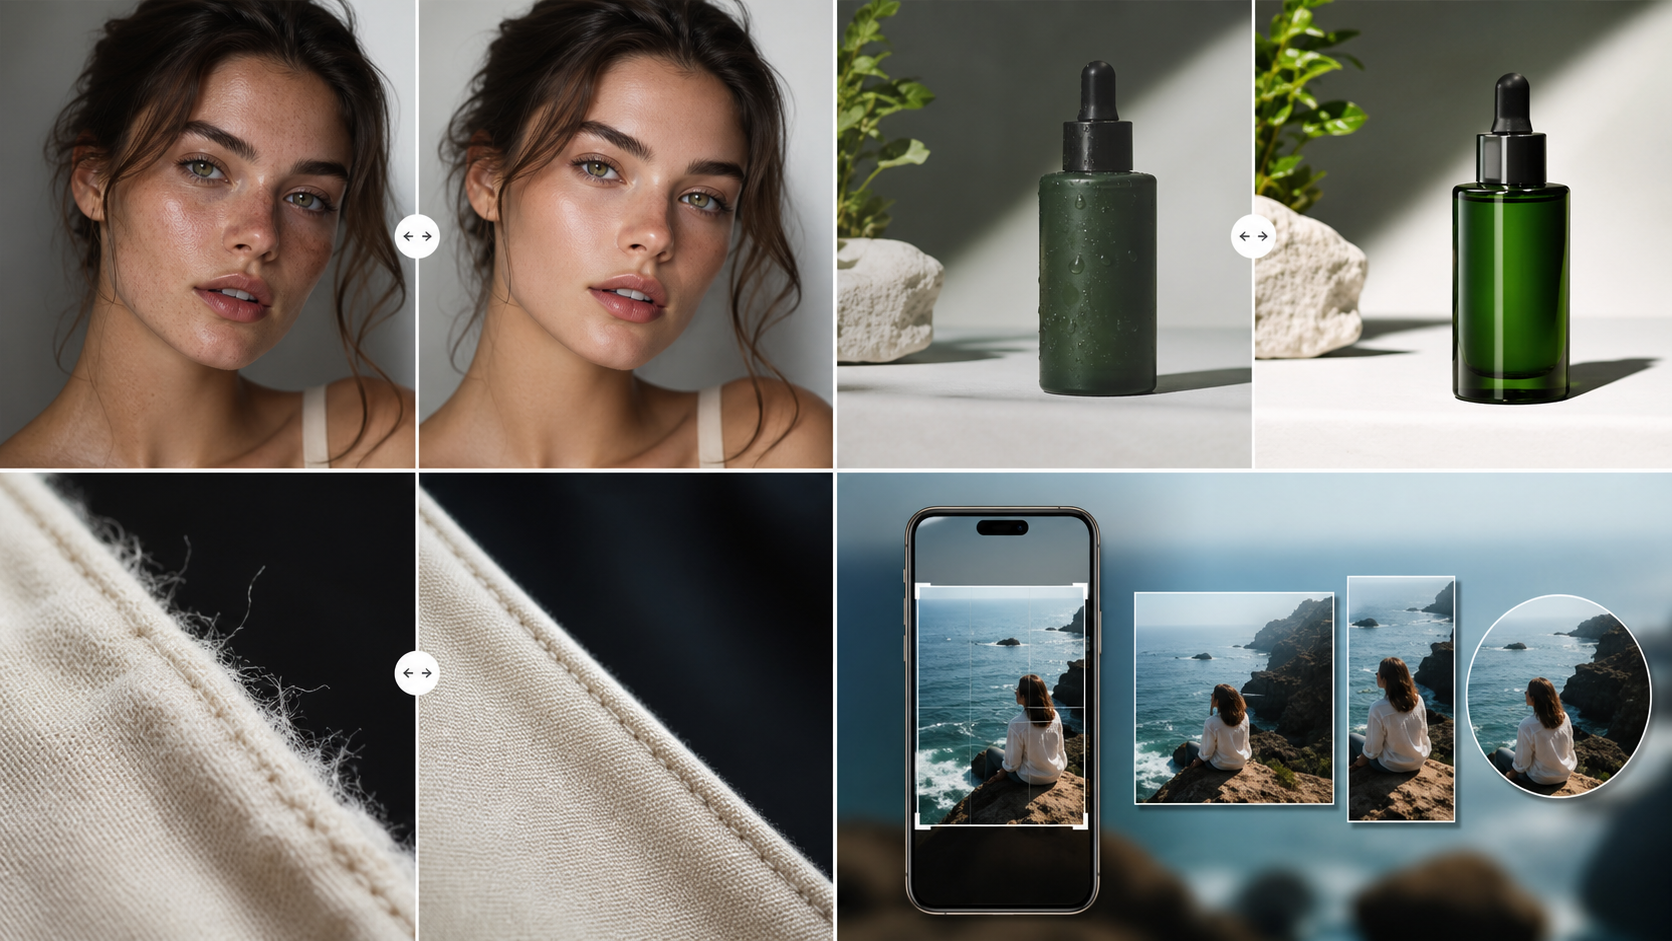
A polished avatar that still looked synthetic
The avatar was sharp and attractive, but the cheeks had a uniform glow and the background had a repeated texture pattern. A humanizer should not redesign the person; it should make the visible finish less machine-made.
A humanizer changes the finish, not the idea
The composition, subject, and prompt concept should remain intact. The work happens in the visible cues that make the image feel generated: skin, surface detail, edges, lighting, and background consistency.
It is different from a normal enhancer
A normal enhancer may sharpen or upscale everything. A humanizer should be selective, improving realism cues without making the picture harsher or changing the user's creative direction.
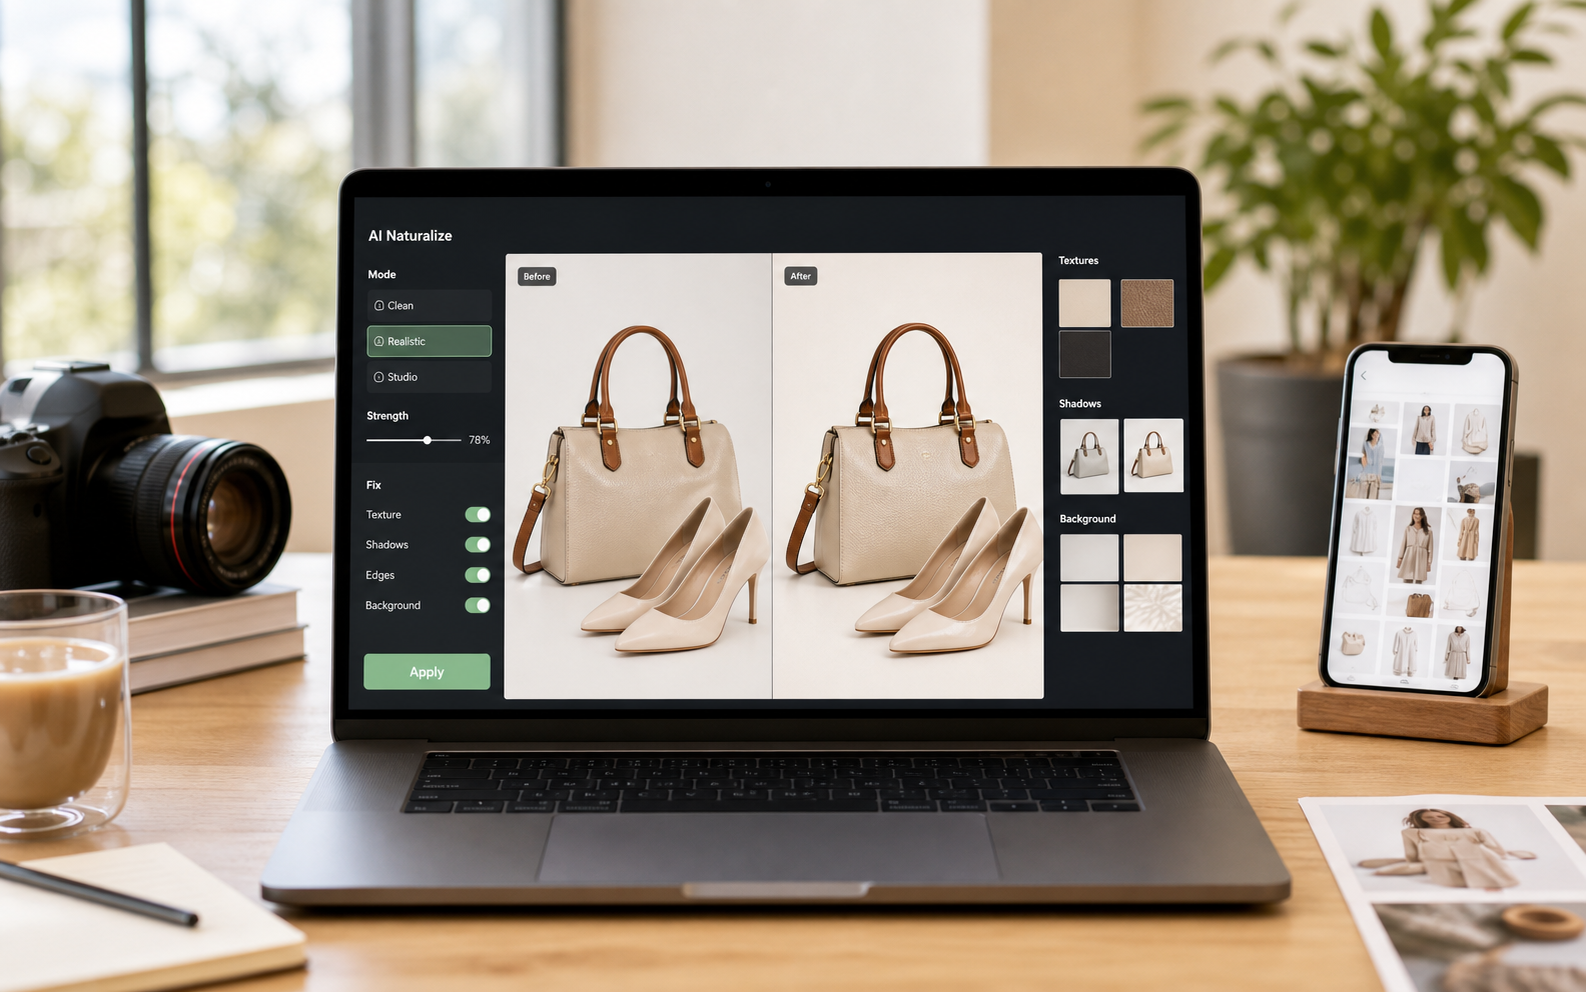
It fits between generation and publishing
Use it after you have selected the best generated image and before you put that image into a post, ad, listing, email, or agent workflow.
Pre-publishing checklist
- Confirm the composition is already good.
- Look for synthetic skin or material finish.
- Check whether sharpening makes artifacts worse.
- Use Clean before trying a stronger realism pass.
- Keep the final result consistent with the original intent.
Recommended workflow
- Select the best generated image first.
- Run Clean AI Vibe as the default humanizer pass.
- Use the result in web, API, or MCP workflows when batches need consistent polish.